Plan a DIY Chuck Box Around Your Camp Kitchen
Plan a DIY chuck box around your cookware, carrying limits, and campsite routine. Use a measured inventory before finalizing dimensions, materials, and assembly.
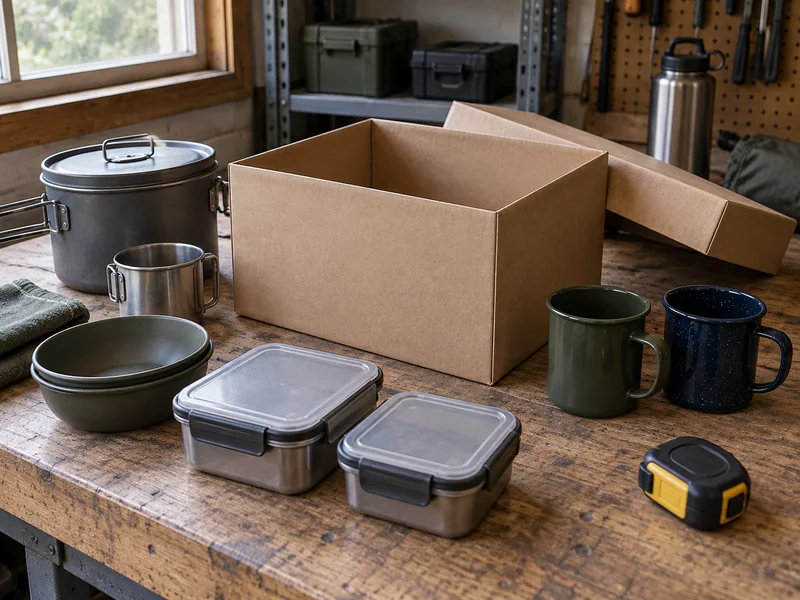
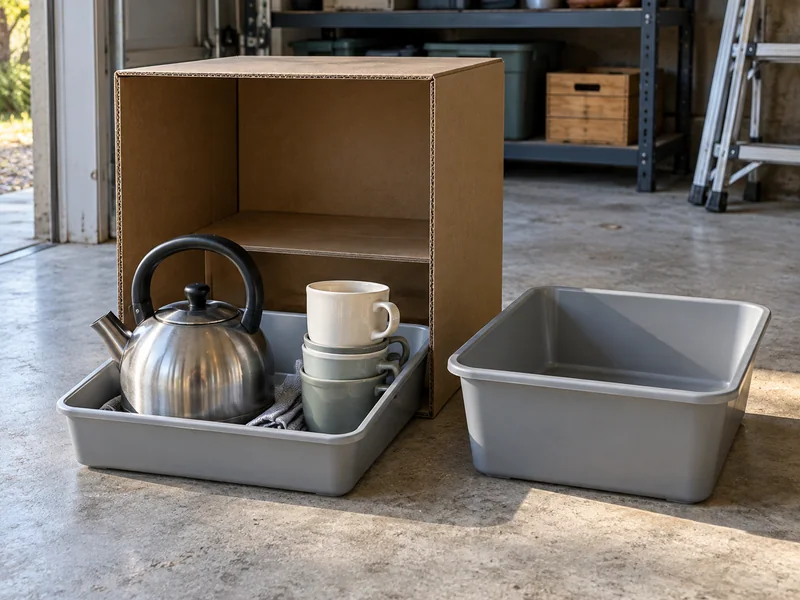
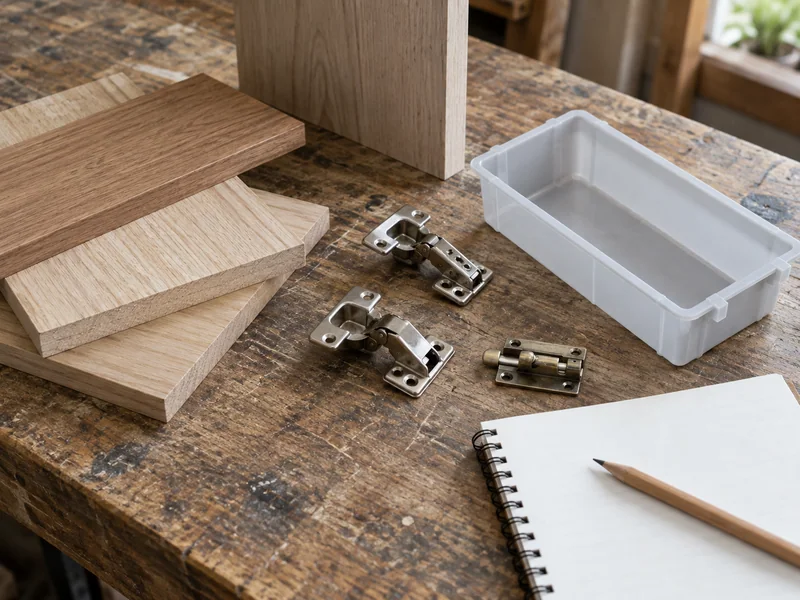
AI-generated illustration: a conceptual project layout, not a finished build or tested construction plan.
Design a chuck box around the items you need to remove, not just the items you can fit inside. Map closed storage, an open working arrangement and the return of used equipment separately. Check the carrying route, usable internal dimensions, lid movement and hardware before choosing a construction plan. Keep stove operation, fuel and wildlife storage subject to their own requirements.
A chuck box earns its space when it makes the kitchen easier to unpack, use and put away. A cabinet with many compartments can still be frustrating if the kettle blocks the plates, the door needs more room than the table allows, or the loaded box is awkward to move from the vehicle.
Start by deciding which of those problems you are solving. This guide helps you prepare a project brief and check an equipment layout before committing to a construction plan. It does not provide a tested cut list, joint design or load rating. Those depend on the final materials, hardware and actual build.
Choose the job before choosing the box
Write one sentence describing the improvement you want. “Keep the breakfast equipment together” leads to a different project from “unload every cooking item in one trip.” The first might need a small removable tray; the second can produce a heavy cabinet with carrying requirements that deserve their own review.
If the real problem is deciding which equipment to bring, use the camp kitchen setup guide first. Building a container around an unsettled inventory makes every later equipment change a fitting problem.
Compare three possible arrangements before settling on woodworking:
| Arrangement | What it can organize | What still needs a solution | Useful question |
|---|---|---|---|
| Existing tote with removable task kits | Separate breakfast, cooking and cleaning supplies | Items may still stack; the tote is not a work surface | Does one removable tray solve the access problem? |
| A cabinet placed on a suitable support | Give equipment a visible location behind a door | Loaded lifting, support, door movement and ground conditions | Can the intended people place and use it comfortably? |
| Several smaller modules | Let different people carry and use separate supplies | More containers and a clear return inventory | Which module is actually needed at each meal? |
None is a universal winner. A larger box can reduce the number of separate containers while increasing the effort of moving each load. Judge that tradeoff with your own people, vehicle and campsite access.
Inventory the equipment in three passes
First, lay out the equipment for the meals you intend to make. Include the awkward parts: a pan handle, a kettle spout, a lid knob, a nested bowl that is wider at the rim. Record dimensions in the state in which the object will travel. Fold a handle only if the equipment is designed for that.
Second, remove optional duplicates. Two spatulas might be useful for a group meal, but a second complete utensil set may simply be compensating for equipment stored in an inconvenient place. The RV kitchen organization guide can help decide which indoor tools should move to the outdoor kitchen and return afterward.
Third, assign each remaining object to the time it is needed. Put the first meal’s tools in the plan before less frequent accessories. The box should not require a complete emptying every time someone wants a mug.
| Item or task kit | Actual stored envelope | Removal direction | Used with | Return condition |
|---|---|---|---|---|
| Largest pot and its lid | ________ | Lift / slide / rotate: ________ | ________ | Clean and dry / separate return: ________ |
| Pan, including handle | ________ | ________ | ________ | ________ |
| Kettle or coffee equipment | ________ | ________ | ________ | ________ |
| Plates and eating utensils | ________ | ________ | ________ | ________ |
| Preparation tools in suitable protection | ________ | ________ | ________ | ________ |
| Cleaning kit | ________ | ________ | ________ | Kept separate from clean supplies: ________ |
The original Scout Life chuck-box project also begins with the cooking equipment and treats its pictured cabinet as an example. Its particular materials and assembly are not a universal specification for a different inventory. Use a complete construction plan appropriate to your project after the layout is settled; do not copy a photograph’s proportions and assume the result has been verified.
Draw closed, open and returning states
Most packing sketches show a neatly closed cabinet. Draw two more views.
In the open view, include the full movement of doors, drawer fronts and anything removed from its slot. Mark where the largest pot will go after you take it out. If it has to sit on the only preparation area while you find a smaller tool, the compartment order needs another look.
In the return view, include equipment that cannot yet go back into clean storage. A damp bowl, a utensil waiting to be washed and a pan still cooling all need an appropriate temporary place. The camp dishwashing workflow covers washing and drying; the box plan needs to leave space for that process to finish.
A drop-down front can look like an extra table in a sketch. Its usable load and stability depend on its structure, hinge, supports, attachment points and the cabinet beneath it. Do not assign it the job of holding a stove, a water container or a person leaning on it without a design that establishes that use.
Check the path from vehicle to campsite
Measure the route the closed box must take through the vehicle opening. Include protruding handles, latches and hinges in the outside envelope. A box can fit on the floor but fail to pass through the door at the angle available for lifting.
Then consider the carrying position. Where will the people stand? Can they reach the handles without trapping their fingers against another object? Is the destination a nearby paved site or somewhere reached across roots and uneven ground? These questions affect the project before a material list is useful.
Record empty box weight and loaded weight as separate future measurements. Estimate materials for planning if you have reliable data, but label that estimate. The finished weight includes hardware, finish, dividers and equipment. A handle’s advertised rating alone does not establish the assembled box’s strength, the attachment strength or a safe human lifting limit.
| Project constraint | What to record | Decision it affects |
|---|---|---|
| Vehicle entrance and loading path | Smallest opening, turns and protrusions | Maximum outside envelope |
| Actual equipment shapes | Width, depth, height and handles | Internal compartment layout |
| Carrying route and available help | Ground, distance and lifting positions | One box versus several modules |
| Supporting surface | Dimensions and documented limits where applicable | Cabinet footprint and open-door use |
| Dirty or damp equipment return | Temporary location and drying process | Removable trays and separate return kit |
| Overnight storage requirement | Destination’s rule and available storage space | Whether the whole box must be moved again |
Allow for walls, doors and movement
Outside dimensions do not equal usable inside dimensions. Material thickness, runners, dividers and hardware all consume space. A drawer’s outside dimensions also do not equal the usable interior of that drawer.
For an arithmetic example only, imagine a 500 mm outside width with two full-height side panels that are each exactly 15 mm thick. The clear width between those panels would be 500 minus 30, or 470 mm, before allowing for runners, dividers or clearance. This is not a cutting dimension or a recommendation for panel thickness. A different joint arrangement changes the relationship.
Work through the largest item at its narrowest exit, not only at the widest point inside its compartment. A lid knob might pass under a shelf when the lid is flat but catch while being tilted out. Record that movement while checking your equipment.
An unloaded cardboard outline or paper arrangement is useful for exploring positions. It cannot validate carrying strength, fasteners, heat resistance or a working platform. Keep those separate from the question of whether the shapes fit.
Write the hardware and materials brief before buying
Once the layout works on paper, give a suitable plan or builder the constraints that matter. Specify which parts move, which parts must be removable for cleaning, what the loaded box must do and where it will be stored. Ask for the complete assembly to be considered, including hardware attachment and stability with doors open.
Keep a bill of materials that includes more than panels. Hinges, handles, latches, fasteners, runners, supports and finish can change both the cost and the carrying weight. Record the date and exact item for each quoted price rather than publishing an apparently permanent “budget build” total.
Do not choose a finish solely from its appearance. Follow the finish manufacturer’s substrate, preparation, cure and intended-use directions. A finished cabinet surface should not automatically become a direct food-contact preparation board. Keep an appropriate cutting board and clean serving surfaces in the equipment plan.
Before cutting, check the final drawing against the actual material thickness and the specified assembly method. Use suitable tools according to their instructions and obtain experienced help for unfamiliar operations. A changed hinge or panel thickness can require changes elsewhere in the drawing.
Give heat, fuel and food storage their own rules
A chuck box stores kitchen equipment; it does not automatically provide a safe place to operate that equipment. Position the stove using the exact appliance manual, approved supporting surface, cookware limits and fuel arrangement. Its packed outline says little about the space required in use.
For example, MSR’s stove guide distinguishes remote-burner designs from non-remote canister-top stoves when discussing windscreens. A homemade side panel is not an approved windscreen simply because it is part of the box. The stove selection guide explains why model-specific compatibility matters.
The CPSC camping-equipment guidance identifies carbon monoxide deaths associated with portable camping stoves and other combustion equipment in tents, campers and vehicles. Keep outdoor cooking decisions separate from the convenience of a storage cabinet or shelter. Follow the appliance’s operating and fuel-storage instructions.
Food and scented equipment also have destination-specific storage requirements. At Rocky Mountain National Park, dirty stoves, grills, tableware and cookware are included in its clean-and-store guidance. That is a practical reason to check whether the entire kitchen kit can be properly put away after use. A wooden cabinet is not automatically an approved wildlife-resistant container.
Finish the brief with a practical acceptance check
Use this card when reviewing the eventual prototype. Leave a result blank until the relevant check has actually been made.
| Check | Evidence to collect | Result and change needed |
|---|---|---|
| Closed box passes the vehicle opening | Actual loading-path check | ________ |
| First meal tools can be removed in order | Rehearsal with the selected inventory | ________ |
| Largest object clears its opening | Actual removal with doors in position | ________ |
| Empty and loaded weights are known | Dated weight records | ________ |
| Structure, hardware and support suit intended use | Relevant design and hardware review | ________ |
| Used equipment has a separate return route | Cleanup and drying rehearsal | ________ |
| Full kit fits required overnight storage | Destination rule and actual available space | ________ |
After a trip, revise the layout from a short record of what caused extra work. Note the item you repeatedly moved, the compartment that collected crumbs and the optional equipment you never unpacked. Change one problem at a time so the next rehearsal shows whether the adjustment helped. A useful chuck box is a kitchen arrangement that works for your trip, including the effort of carrying it home.
Sources & further reading
Use these original sources for the full context and the latest guidance.
Prepared with AI assistance. Read our editorial approach.
This is a researched planning guide, not a report of a hands-on product test.
Last updated .