Camper Remodel Ideas Organized by Budget and Scope
Compare camper remodel ideas by budget, project scope, weight, and everyday use. Build a condition record and source-based work plan before choosing a renovation.
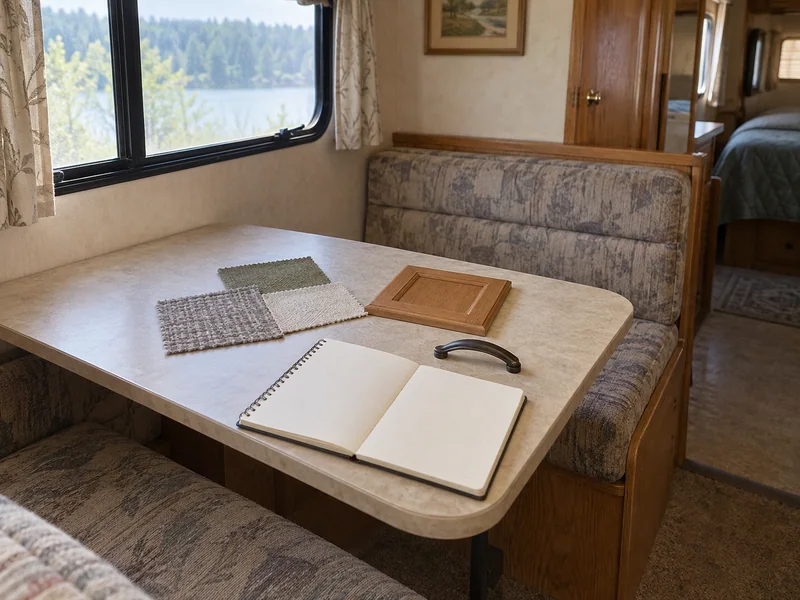
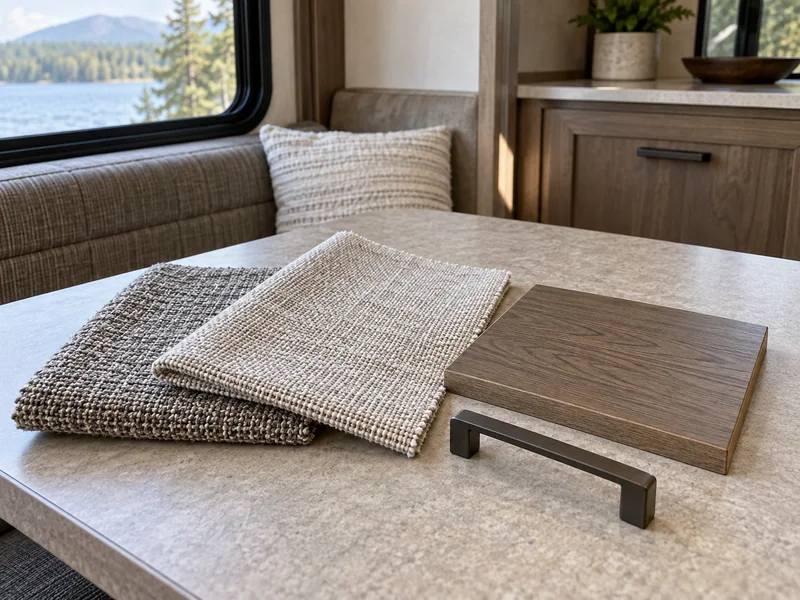
AI-generated illustration: Material samples and a blank project record illustrate a remodel planning session before any work is commissioned.
Choose camper remodel work by the problem it solves and the systems it affects. Separate condition assessment, repairs, reversible improvements and permanent changes. Compare written quotes with the same scope, track added and removed weight, and define a usable finish point before dismantling the RV.
A camper remodel can begin with a dated cushion and expand into flooring, cabinets, appliances and several unfinished systems. The way to control that expansion is to define the problem and the finish point before choosing materials.
Start by recording the camper’s condition and the task you want to improve. Decide what can remain, what needs repair, and which changes affect weight, attachments, ventilation or moving parts. Build a budget from written scopes and dated prices for your vehicle, rather than copying the total from somebody else’s project.
This is a researched planning guide. It contains no claimed owner renovation, measured labor time or regional price range. Its contribution is a set of comparisons and blank records that help turn an idea into a reviewable project.
Write a useful project brief
Describe the daily problem in one sentence. “The counter is difficult to clean” is a more useful starting point than “the kitchen needs updating.” It directs attention to the surface and its condition. “Two people cannot pass while the cook is working” points toward a layout decision instead.
Then define a finish test. For a storage improvement, the test could be retrieving a specific item and returning it without unloading other things. For a fabric refresh, it could be a cover that fits, follows the material’s care needs and does not interfere with furniture movement. These tests are goals for your project, not results already achieved by this guide.
Keep a separate wish list for ideas that are appealing but do not solve the stated problem. It is easier to defer a new backsplash when it has not been quietly folded into the must-do budget.
Record condition before choosing finishes
Photograph the area as found, with enough surrounding context to locate it later. Record visible staining, loose trim, damaged hardware, uneven movement and any history of leaks or repairs. Describe what you can observe rather than naming an unverified cause.
Check the manufacturer’s maintenance records and available recall information for the vehicle and relevant equipment. NHTSA’s recall search includes vehicle and equipment searches, but its VIN results have limitations, including some older or specialty-manufacturer recalls. A clean search result is not a condition inspection or proof that all maintenance is complete.
Do not cover an unexplained damp, soft or deteriorated area with new flooring or wall covering. Arrange an appropriate assessment before the cosmetic work. EPA’s remodeling guidance likewise starts with correcting the underlying cause of a damaged surface and following product instructions. Its guidance is for homes; here, those general planning principles sit alongside the RV and component requirements, not in place of them.
| What you observe | Record now | Work to resolve before decoration | Decision |
|---|---|---|---|
| Finish is worn but the surface appears intact | Location, material and photographs | Identify compatible cleaning and finishing method | Consider a limited cosmetic project |
| Recurring stain or dampness | Date, weather, activity and affected area | Identify and address the moisture source | Hold coverings until assessed |
| Loose or damaged cabinet hardware | Which part moves and how it is used | Determine whether hardware or its support is damaged | Confirm repair scope before replacing handles |
| Furniture catches during movement | Exact position and interference | Check the mechanism and fitted arrangement | Do not force it or design around a fault |
| Appliance or utility performance is uncertain | Model, symptom and service history | Appropriate component inspection or service | Separate from the decorative budget |
| Floor or wall condition is uncertain | Visible changes without destructive probing | Qualified assessment of the affected assembly | Treat scope as unresolved |
Compare ideas by the work they create
Several projects can change how a camper feels without requiring the same depth of intervention. The table is a planning comparison, not a promise that any particular job is suitable for DIY work.
| Idea | Problem it can address | Work beyond the visible finish | What to verify |
|---|---|---|---|
| Clean or replace removable soft furnishings | Worn appearance or difficult care | Correct sizing, material care and stowage | Furniture movement and suitable materials |
| Reorganize existing drawers and shelves | Everyday items are hard to reach | Inventory, fit and travel retention | Existing storage and attachment limits |
| Replace compatible cabinet pulls | Awkward grip or damaged hardware | Existing hole pattern, door closure and protrusion | Substrate condition and fastener suitability |
| Refinish a sound cabinet surface | Worn or unwanted finish | Preparation, compatibility, ventilation and cure time | Identified surface and product directions |
| Renew floor covering | Worn surface or difficult cleaning | Removal, substrate assessment, edge details and added thickness | Slides, doors, access panels and approved materials |
| Change a counter or table surface | Poor work area or damage | Weight, support, edges and appliance clearances | Actual mounting and moving-furniture requirements |
| Change lighting or add outlets | Poor task visibility or charging access | Electrical compatibility and installation | Qualified system review where required |
| Move cabinets, seating or a bed | A persistent layout conflict | Structure, restraints, wiring, plumbing and loading | Vehicle-specific design and competent installation |
For access problems, try the RV storage method before expanding the building work. If the problem is the relationship between working and walking space, the campervan kitchen comparison provides a better starting point. A bed change belongs with the sleeping-layout comparison, including the use of the space by day.
Test one material or detail before ordering the whole project
Identify the substrate before choosing an adhesive, coating or cleaner. RV cabinets, wall panels and roof materials can look similar while requiring different products. Keep the material name and the source of that identification in the project record.
A sample can reveal appearance and handling questions: whether the color works in the vehicle’s light, whether a proposed pull catches clothing, or whether an added edge obstructs a door. A sample does not prove long-term adhesion or structural suitability. Follow the material manufacturer’s directions for any compatibility test.
Product instructions provide concrete reasons to avoid broad shortcuts. Dicor’s Self-Leveling Ultra Sealant page specifies primer requirements for TPO and EPDM membranes and certain rooftop plastics, and distinguishes other compatible substrates. The lesson is to identify the roof system and exact product before requesting a repair scope. It is not a universal recommendation to apply that sealant to every camper roof.
Similarly, Command’s hook instructions include surface, temperature and application restrictions. A removable attachment still needs a compatibility check. The convenience of avoiding a hole does not establish suitability for every wall finish or use during travel.
Build a budget from the same written scope
Ask each supplier or contractor to price the same work. “Replace floor” is too vague to compare if one quote includes removal and substrate work while another covers only installing the visible material.
List labor, material, delivery, taxes, disposal, inspection and any required supporting work separately. Record whether each amount is a quote, an allowance or an unknown. Give unknowns a next action, such as a site inspection or manufacturer response, rather than entering zero.
| Budget line | Source and date | Included work | Exclusions or uncertainty | Your amount |
|---|---|---|---|---|
| Condition assessment | ________ | Area and systems examined | What cannot be assessed without further work | ________ |
| Removal and preparation | ________ | Existing material and disposal | Hidden damage or substrate repair | ________ |
| New materials and delivery | ________ | Product, quantity and accessories | Waste allowance, tax or freight | ________ |
| Installation labor | ________ | Exact tasks and completion standard | Changes outside the written scope | ________ |
| Required supporting work | ________ | Hardware, utilities or clearances | Items awaiting confirmation | ________ |
| Verification and handover | ________ | Agreed operational checks | Tests performed by somebody else | ________ |
| Unresolved costs | Next action: ________ | ________ | Do not treat as zero | ________ |
Choose a spending limit for the project and a decision point at which you will pause to approve changed scope. There is no universally correct contingency percentage for an unidentified camper. The important distinction is between priced work and possible work that has not yet been examined.
Include access and downtime in the decision even if you do not assign them a dollar value. A removed floor can make the camper unavailable. A surface coating needs its specified application and curing conditions. A delivery delay may affect where the vehicle can be stored with work unfinished.
Track removed and added weight
Keep a separate material ledger. Write the item removed, its recorded weight if actually measured, and the proposed replacement including mounts, hardware and supporting materials. Record estimated and measured values differently.
The arithmetic is straightforward: added weight minus removed weight gives the change attributable to that work. It does not verify the finished RV’s loading, axle distribution, towing suitability or attachment strength. Those remain separate checks using the vehicle’s ratings and appropriate inspection and weighing.
Be cautious when replacing a light assembly with a household equivalent. The relevant quantity is the complete installed item. A counter, for example, may need support and edging beyond the visible top. Do not rely on an online claim that a material is lightweight without obtaining the weight of your actual quantity and installation.
Attachment details also depend on what is behind the surface. The MORryde cargo-tray manual specifically requires checking for plumbing and wiring beneath a proposed mounting location. Although a cargo tray is a particular product, it illustrates a practical project dependency: locate hidden systems before planning fasteners. It does not supply fasteners for unrelated cabinetry.
Put repairs and access before the finish layer
Arrange the project so that one job does not immediately undo another. Resolve condition questions first, complete approved repairs and system work, verify those results, then install the finishes that would conceal them.
Preserve photographs, model numbers and service access while the area is available. A neat final panel is less useful if it hides an appliance label or requires demolition to reach a valve. Label removable access panels in your own records and show their location during handover.
Ventilation and product curing deserve their own place in the schedule. Follow coating, adhesive and material instructions and plan a suitable place to stay while work is in progress. Do not use lack of odor as a substitute for the product’s stated conditions for reoccupation or use.
For a folding trailer, add roof closure, tent fabric, bunk supports and folded storage to the sequence. The pop-up renovation guide addresses those constraints separately rather than applying a rigid-camper plan to a lifting roof.
Define completion before work begins
Write what the finished project must demonstrate. Examples include doors opening and latching, furniture completing its permitted movement, required service panels remaining accessible, and installed equipment receiving the checks specified by its manufacturer or installer.
Keep appearance and operation as separate observations. A photograph can show a finished surface. It cannot demonstrate an electrical test, a secure attachment or the absence of concealed damage. Ask for the appropriate records and keep them with the work description.
Record product names, color or finish codes, care instructions, installation dates and warranty documents. For commissioned work, note who performed it and what was agreed. If you later share a project, include actual dated costs and the limits of what was changed instead of presenting its budget as typical for every camper.
Your one-page remodel decision
- Problem to solve and finish test: ________
- Condition findings and unresolved questions: ________
- Work included in this phase: ________
- Work deliberately deferred: ________
- Exact material and equipment sources: ________
- Quote dates, exclusions and spending limit: ________
- Removed and added weight record: ________
- Required specialist work and verification: ________
- Safe storage and downtime arrangement: ________
- Documents to retain at handover: ________
Choose the smallest complete phase that solves the stated problem. A finished, usable improvement is easier to assess and maintain than several attractive ideas that leave access, condition or system questions unresolved.
Sources & further reading
Use these original sources for the full context and the latest guidance.
- EPA: Best practices for indoor air quality when remodeling (opens in a new tab)
- Dicor: Self-Leveling Ultra Sealant substrate and primer requirements (opens in a new tab)
- MORryde: Cargo tray installation instructions (opens in a new tab)
- NHTSA: Vehicle and equipment recall search (opens in a new tab)
- Command: Indoor and outdoor hook instructions (opens in a new tab)
Prepared with AI assistance. Read our editorial approach.
This is a researched planning guide, not a report of a hands-on product test.
Last updated .