An RV Camping Checklist for Planning and Arrival
Plan an RV camping trip with separate packing, arrival, and departure checks. Match the checklist to your vehicle manual, campground rules, and equipment.
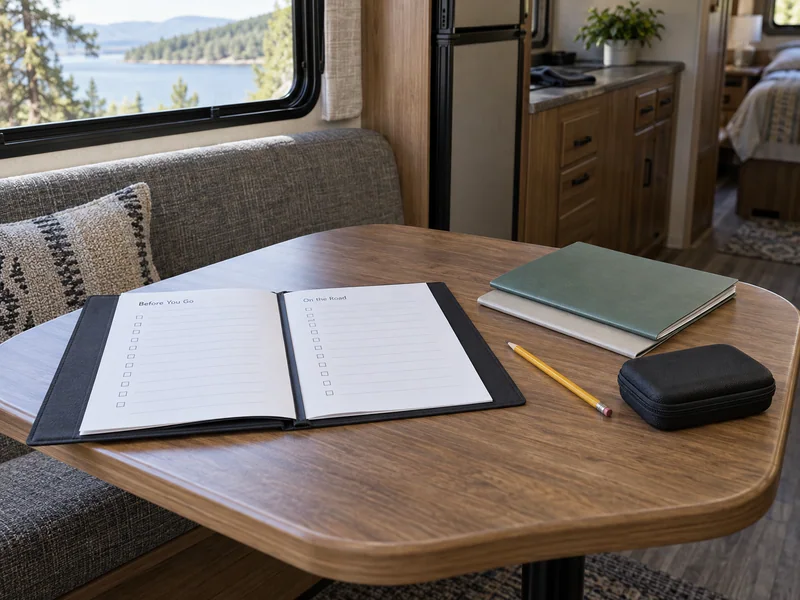
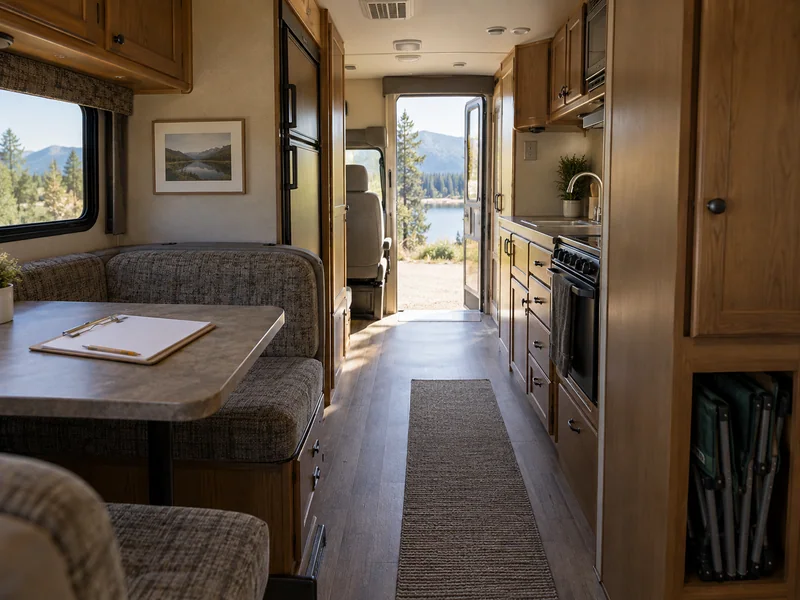
AI-generated illustration: keep vehicle documents and trip checks together for the RV you actually use.
Build an RV camping checklist in three parts: trip readiness, campsite arrival and departure. First identify the exact vehicle and equipment manuals, confirm the site will accommodate your RV, and resolve maintenance or operating questions. At camp, use the manufacturer's procedures for the installed systems. Before driving, check the vehicle's travel configuration and secure everything that was brought out.
An RV camping checklist needs to distinguish a missing kitchen towel from an unresolved vehicle problem. Both can appear on a packing list, but only one should be allowed to hold up the departure decision.
Start with the RV’s identity, operating information and campsite requirements. Then add the things that make the stay comfortable. This guide supplies a planning structure and blank records to adapt. It does not document an inspection of a particular RV or provide a universal sequence for connecting power, operating jacks or handling waste systems.
Use the car camping checklist for the personal and shared camping supplies that also apply to your trip. Keep the RV-specific checks here in a separate folder so a long list of small items cannot hide a mechanical or operating question.
Build the checklist for the RV you actually have
Record the manufacturer, model, model year and identifying numbers from the vehicle’s documents and labels. Include the chassis information for a motorhome and the tow vehicle and hitch information for a trailer. A familiar model name does not establish that two vehicles have the same equipment.
Find the owner’s manual for that configuration, then collect the manuals for fitted components. Include equipment added after manufacture. A replacement refrigerator, aftermarket inverter or different leveling system may need instructions beyond the original RV handbook.
For a concrete example, Winnebago’s manual library separates documents by model year. Its 2026 operator-manual page lists individual models, including Solis, and identifies a serial-number condition for that group of manuals. This is a reason to match the document carefully, not to use the Solis instructions for another van.
Save the correct files for offline use. Add a paper note showing where to find the relevant procedure, along with the dealer or qualified service contact for questions you cannot resolve. If you rent the RV, ask the rental company to demonstrate the installed systems and explain what to do when something does not operate as expected.
| Checklist section | Information to copy from your own documents | Evidence or contact to keep |
|---|---|---|
| Vehicle identity | Make, model, year, relevant serial or identification details | Registration, rental agreement or manufacturer record |
| Road readiness | Required inspections, loading limits and travel configuration | RV and chassis manuals; service record |
| Tires and loading | Applicable pressure and load information for the actual setup | Vehicle labels, manuals and qualified tire guidance |
| Electrical system | Installed supply, connection procedure and equipment limits | RV, inverter, charger and accessory instructions |
| Water and sanitation | Correct connection, operating and disposal procedures | RV manual and campground instructions |
| Moving equipment | Required conditions and sequence for slides, jacks or other fitted equipment | Manual for the exact system |
| Emergencies | Exits, alarm instructions and service contacts | RV manual, device manuals and campground information |
Write the manual page or section next to each action. A checkbox reading “system ready” is too vague if nobody knows which conditions establish readiness.
Confirm the campsite before committing to the drive
Check the actual reservation and campground’s current information. Record the arrival window, late-arrival process, checkout time and a phone number that works if the office is closed. Save directions to the entrance intended for RVs, including any access instructions supplied by the campground.
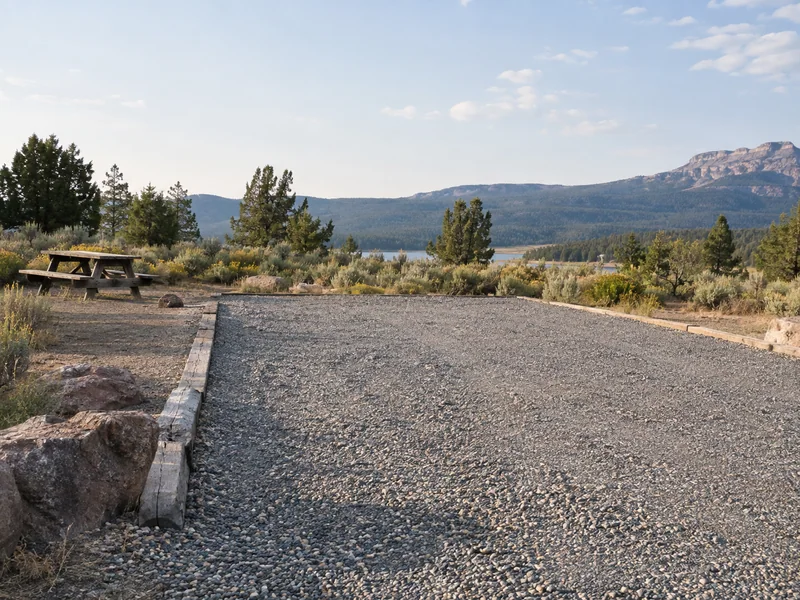
Confirm the site’s stated vehicle limits and what is included in the booking. Ask about the space required for the RV in its occupied configuration, including fitted equipment that extends beyond the travel footprint. A parking length on a listing does not answer every question about access or setup room.
Identify which services are at the individual site, which are shared and which are unavailable. Keep those distinctions on the arrival sheet. Water somewhere in a campground is different from a permitted connection at the reserved pad. A dump station listing is different from an individual sewer connection. Check seasonal closures and access arrangements directly.
Also check current weather, road restrictions and conditions for the planned route. The National Park Service’s pre-trip guidance recommends matching plans to the group’s abilities and the conditions. Apply that thinking to the driving day as well as the campsite: leave room to stop before everyone is tired and setup is happening in a rush.
Separate road readiness from household packing
Complete the vehicle’s prescribed pre-trip checks using its manuals and maintenance requirements. Resolve warning lights, damage, overdue work or unfamiliar operation with the appropriate service provider before departure. A printed list cannot certify the condition of brakes, tires, gas appliances or electrical equipment.
For tires, NHTSA’s guidance directs drivers to the vehicle’s label or owner’s manual for the recommended inflation pressure, rather than treating the number on the tire itself as the vehicle’s target. It also explains that pressure checks should be made with cold tires and that a monitoring system does not replace regular checks. Record the applicable information for your RV and loaded configuration, and ask a qualified tire professional about uncertainties.
Pack within the vehicle’s documented limits, including the effect of people, water, equipment and any towed load. Do not infer usable carrying capacity from the number of empty cabinets. Keep the necessary loading information with the trip records and obtain appropriate weighing or professional guidance when needed.
Then organize the household supplies by access order. The RV storage guide helps assign reachable homes to frequently used items. Keep arrival equipment separate from the things that will stay packed until bedtime. Store clean-water equipment separately from sanitation equipment, using the handling and storage requirements that apply to each.
Make arrival a short series of decisions
Pause before unloading. Verify that this is the assigned site and that the actual space, access and services match the reservation. Look for obstructions and the clearances your equipment requires. If something is unsuitable or unfamiliar, speak to staff before connecting or deploying anything.
Keep people clear of moving vehicles and equipment. Agree on communication between the driver and anyone helping, using the procedures appropriate to the vehicle and situation. Stop whenever communication or visibility is lost. Someone carrying a picnic chair should not also be expected to supervise a maneuver.
Once the vehicle is positioned, follow its documented setup sequence. The relationship between parking, leveling, slides, stabilizers and utility connections varies by equipment. Do not rearrange that sequence to match a generic internet checklist. Put the correct steps from the manual on your own arrival card.
Treat a damaged, unclear or incompatible utility connection as a reason to stop and ask campground staff or a qualified professional. Do not improvise adapters, bypass protective devices or troubleshoot exposed electrical parts. Our camping power budget can help plan intended consumption; it does not establish whether a particular connection is safe or suitable.
| Arrival stage | Question to answer | Record for this trip |
|---|---|---|
| Site confirmation | Are this site, access and services the ones booked? | Site number and staff clarification: __________ |
| Space check | Is there room for the RV’s required occupied configuration? | Obstruction or clearance issue: __________ |
| Vehicle setup | Which exact manual sequence applies? | Document and page: __________ |
| Utilities | Are the available services compatible and understood? | Approved procedure or help needed: __________ |
| Household setup | What must be accessible for the first meal and night? | First-use bag or compartment: __________ |
| Exit and weather plan | How will everyone leave, and where is appropriate shelter? | Route, location and contact: __________ |
Bring out optional furniture after the essential setup is complete. For an outdoor cooking area, use the camp kitchen setup guide to plan the work space and cleanup supplies around the campsite’s rules.
Check the occupied space before settling in
Locate exits and keep them usable after beds, chairs and storage bins are in place. Make sure everyone understands the exit plan and can reach the necessary doors or windows. The U.S. Fire Administration’s RV guidance emphasizes keeping escape routes clear, practicing escape and having gas systems inspected by a trained technician.
Check the RV’s required alarms according to their instructions and confirm their service or replacement information. Know where the appropriate fire extinguisher is and follow the fire authority’s guidance on its use. Do not count a device as ready simply because it is mounted on a wall.
Put keys, shoes, glasses and other items needed to leave where their users can reach them. Establish a suitable severe-weather shelter plan with current local guidance; the fact that a vehicle is an RV does not establish that every part of it is suitable protection from every hazard.
Leave the first meal simple enough that it does not compete with learning the vehicle. There is little value in an elaborate dinner if all the clean cookware is behind a packed travel compartment and nobody knows how the installed equipment operates.
Build a separate departure card
Departure deserves its own sequence because the RV has changed since arrival. Cabinets have been opened, furniture moved, accessories extended and utilities connected. Work from the manufacturer’s required travel configuration, then add the loose items your household actually used.
Schedule time for the campground’s permitted waste disposal process and any service stops. Follow the RV and facility instructions for disconnection and sanitation. Keep clean and used equipment separated. If the procedure is unfamiliar, arrange instruction before the departure morning.
Use a deliberate final walk-around and interior check appropriate to the vehicle. A second person can verify completed items when available, but the responsibilities should still be clear. If interrupted, return to the last confirmed point rather than assume the rest was done.
| Departure category | What your own card should identify | Completed or issue to resolve |
|---|---|---|
| Occupants | Required travel seating and restraint arrangements | __________ |
| Interior | Items secured and required travel positions restored | __________ |
| Fitted equipment | Manual-required travel configuration for all applicable systems | __________ |
| Utilities | Correct disconnection, storage and permitted disposal completed | __________ |
| Exterior and loading | Vehicle-specific inspection and secured compartments or accessories | __________ |
| Site | Belongings removed, waste handled and departure rules met | __________ |
| Next stop | Route, fuel or service needs and arrival information available | __________ |
Keep unresolved items visible. A note saying “ask about this next time” is appropriate for improving a cupboard label, but not for an unexplained vehicle warning or uncertain travel configuration.
Update the checklist from your own trip
After returning, record what was missing, difficult to reach or unnecessarily duplicated. Replace vague reminders with specific actions and document references. Keep maintenance matters in the vehicle’s service record rather than burying them among grocery notes.
Retain only the rows that apply to your actual RV, but preserve every required check in its manuals. Review the list again after equipment changes, a different rental or a change in campsite services. The useful checklist is the one that accurately describes the vehicle you are about to move.
Sources & further reading
Use these original sources for the full context and the latest guidance.
- Winnebago: Operator manuals by model year (opens in a new tab)
- Winnebago: 2026 operator manuals (opens in a new tab)
- NHTSA: Tire safety and maintenance (opens in a new tab)
- U.S. Fire Administration: Recreational vehicle fire safety (opens in a new tab)
- National Park Service: Camping safely before the trip (opens in a new tab)
Prepared with AI assistance. Read our editorial approach.
This is a researched planning guide, not a report of a hands-on product test.
Last updated .