A Camping Coffee Setup for Your Morning Routine
Choose a camping coffee setup by servings, hot water, packed size, and cleanup. Compare practical methods and build a kit around the way you start the day.
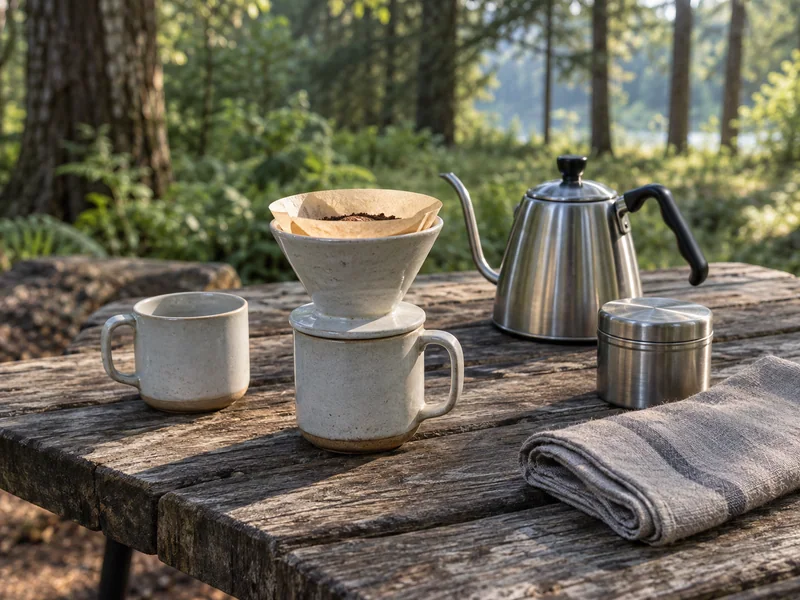
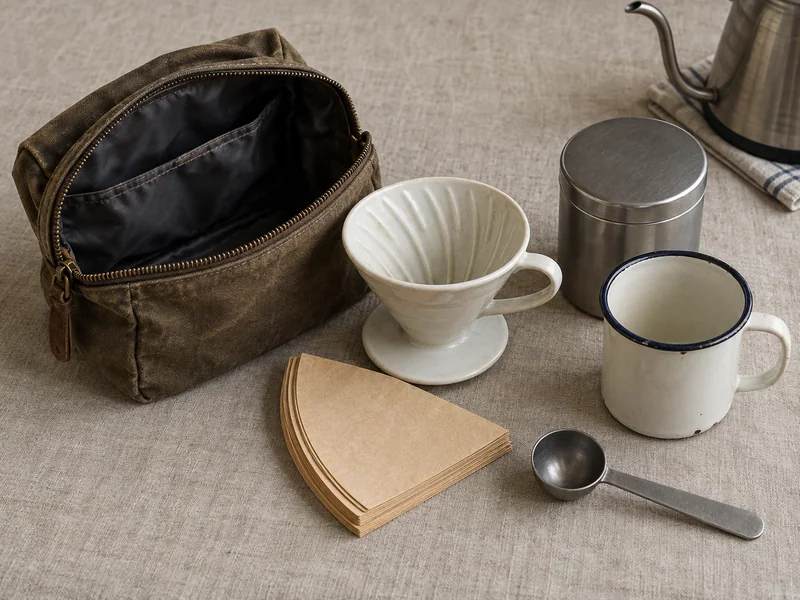
AI-generated illustration: a conceptual morning coffee arrangement, not a brewing or taste test.
Choose a camping coffee setup by the amount you want to serve and the work you can do before leaving camp. Instant coffee removes the brewer and wet grounds; a paper-filter pour-over suits a controlled pour; an AeroPress needs a stable pressing surface and a plan for repeat brews; a French press can serve a shared batch if its usable capacity fits. Budget water for brewing, any dilution, rinsing and cleanup separately.
A coffee kit earns its space when it works on the morning you actually have. Two people leaving before breakfast need a different routine from four people lingering at the picnic table. The brewer matters, but so do the mug underneath it, the queue for hot water and the wet grounds left when it is time to pack.
Start with a method you already enjoy at home, then check whether you can repeat the whole process at camp. This guide compares four practical approaches and gives you a blank rehearsal sheet. Product examples explain the equipment requirements; they are not a ranking of tested coffee makers.
Choose a method around the work you want to do
These are workflow comparisons. Packed volume, water use and speed depend on the complete kit and have not been measured here.
| Method | A useful fit when | Equipment beyond coffee and mugs | Serving question | What remains to clean or pack out |
|---|---|---|---|---|
| Instant coffee | You want few preparation steps or a backup without a separate brewer | Measuring spoon if needed; a suitable way to heat water for a hot drink | How much water does the exact product call for per serving? | Mug, spoon and packaging; no loose spent grounds |
| Paper-filter pour-over | You enjoy controlling the pour and can give each brew attention | Dripper, matching filters, a compatible receiving vessel and a vessel that pours safely | Can the dripper and receiver handle the chosen recipe, or will you brew again? | Used filter with grounds, dripper, receiver and pouring vessel |
| AeroPress | You want to follow a familiar press recipe and have a firm work surface | Exact press model, matching filter and cap, stirrer and a sturdy compatible cup or server | Does one brew make the amount you want, including any recipe-defined dilution? | Coffee puck and filter, cap, chamber, plunger seal and receiving vessel |
| French press | People want coffee together and a suitable shared batch fits the press | Press, suitable stirring utensil and a vessel for heating and pouring water | What amount can the exact model brew within its instructions? | Loose wet grounds, vessel, lid and filter assembly |
For a short first trip, bringing a familiar method and a small backup portion is a reasonable starting point. A new brewer, unfamiliar grind and different recipe all at once make it harder to work out what needs changing.
If you are leaving camp early
Pre-portion the coffee at home and keep the day’s portion accessible. Instant coffee avoids handling wet grounds. A familiar single-serving brewer can also work if you have allowed time to empty, clean and dry it. Include that work in your departure plan instead of timing only the pour.
If two people share one burner
Decide whether coffee or breakfast gets the burner first. Heating water for two drinks does not prove a small brewer can make both in one pass. Check the serving amount, prepare both cups and decide who handles the second brew. If you want to drink together, assess an appropriate batch method or a suitable insulated server.
Choose the food alongside that sequence. The camping breakfast guide compares meals you can assemble while coffee brews with pan-cooked breakfasts that need their own turn on the burner.
If several people want different drinks
Write down regular coffee, decaf, tea and any second servings separately. Individual preparation avoids making one shared batch that some people will not drink, but adds repeated steps. Agree on a serving order and keep the relevant portions labeled. The person boiling water needs the total request before filling the pot.
Size the servings before choosing the brewer
Measure how much coffee you normally put in your mug, leaving the headroom you need for carrying it and adding milk. Use milliliters or fluid ounces consistently. A product’s advertised number of cups may use a different serving size from yours.
For example, the AeroPress Original product page lists a 10 oz capacity and describes it as 1–2 cups. That is not evidence that it produces two full 10 oz camping mugs in one brew. The quantity added to a chamber, the amount collected after brewing and any water added afterward are different figures.
Serving example, not a brewing test: two people each choosing one 250 mL coffee need 500 mL of finished black coffee for that morning. Over three mornings, that is 1,500 mL. If both want a second serving every morning, it becomes 3,000 mL. These totals describe the drinks, not the freshwater allowance or the safe fill level of a brewer.
Coffee grounds retain some water, and a recipe may call for dilution after brewing. Record the output of your actual recipe during a home rehearsal. If one run cannot supply the planned drinks, choose repeat runs or a suitable larger setup; do not overfill the brewer to make the arithmetic work.
For different serving sizes, add the individual requests instead of multiplying by an assumed average. Keep milk and other additions separate from the black-coffee figure so you do not count them as brewing water.
Follow the instructions for the exact method
Instant: check the product and the serving size
Keep the preparation directions with the coffee. The NESCAFÉ US FAQ gives one teaspoon of Clásico granules with 6 US fl oz of hot water as its preparation example. That is a manufacturer’s direction for a named product, not a universal dose for every instant coffee. A teaspoon from a jar and a single-serving packet are not interchangeable measures. Rehearse the portions you intend to make before packing for the group.
If you want a drink without heating water, confirm that your chosen product supports cold preparation and rehearse that version. Ordinary ground coffee does not become instant coffee when stirred into a mug. A ready-to-drink alternative also needs its own storage check, especially after opening.
Pour-over: check the filter, receiving vessel and pour
Match the filter to the dripper’s size and shape. Check that the dripper sits securely on the receiving vessel and that the vessel holds the intended brew. A wide camping mug can be a poor support even when it holds enough liquid.
Hario lists its V60 Ceramic 02 for 1–4 cups without defining the cup volume on that product page. The James Hoffmann technique published by Hario uses 30 g of coffee and 500 mL of brewing water, plus a separate filter rinse. Those are inputs to that recipe, not a measured 500 mL drink yield. Include any rinse in your water log.
Practice pouring with the kettle or pot you will actually take. If it sends out a broad, uncontrolled stream, address that at home rather than trying to balance another hot vessel at camp. Keep the brewer off the stove unless its manufacturer explicitly designed it for direct heat. Set up a place for the used filter before lifting a wet dripper off the cup.
AeroPress: use the model’s instructions and a stable cup
The manufacturer’s how-to page has separate model selections. Choose the one you own; Original, Go, Go Plus and XL instructions should not be merged into one supposed universal recipe.
Use the upright method in the relevant instructions, assemble the cap correctly and place the press on a sturdy, compatible vessel on a stable surface. The official FAQ warns against fragile glass and does not recommend inverted brewing because of the risk of tipping and burns. Press gently as directed. If it resists unusually, stop and follow the manufacturer’s troubleshooting advice instead of forcing it. Rehearse the complete sequence, including handling the hot assembly and removing the used puck.
French press: allow space for the grounds and filter
A press needs room for the recipe and plunger assembly within the manufacturer’s limits. Do not treat the nominal vessel capacity as the amount of water to pour over the grounds. Follow the exact model’s brewing directions, including grind, fill level, steeping and gentle pressing.
For a concrete example, Stanley labels its Classic Stay Hot French Press as 48 oz, while its recipe for that model calls for 40 oz of water, described there as approximately 1,200 mL. Neither number guarantees that much finished coffee in the cups. Use the recipe and fill instructions together when assessing a shared batch.
Check whether your chosen model is suitable for travel and how its components must be protected. A glass vessel needs protection from knocks; a different material still needs an inspection and secure storage. Account for the whole filter assembly in cleanup. Pouring out the drink leaves wet grounds to remove before washing.
Give hot water its own place in the morning plan
Use potable water and a compatible heating vessel within its safe fill limit. Arrange a stable outdoor stove position, a separate brewing surface and a clear route between them. The camp kitchen setup guide helps place that routine within the rest of your kitchen.
Coffee and oatmeal can compete for the same pot. Write the order down: water heated, coffee prepared, burner available for food. A second burner only helps if the approved cookware fits and you actually need both at once. Use the camping stove selection guide for fuel, cookware and operating-space checks.
The CDC warns against using portable gas camp stoves indoors. Do not move one into a tent or campervan to make coffee in bad weather. Check the destination’s current rules for your stove, along with closures and weather, as the National Park Service recommends. Have a drink you can prepare without heat if a safe, permitted cooking setup is unavailable.
Count brewing water and cleanup water separately
Measure what you draw from the clean supply during a rehearsal. Transferring the same water from a kettle to the brewer is not a second draw. Conversely, a rinse that you pour away still used water even though it never reached a mug.
| Freshwater use | What to record | Avoid this counting mistake |
|---|---|---|
| Brewing or dissolving the coffee | Water added for every run | Counting it again when it moves from kettle to brewer |
| Diluting after brewing, if your recipe requires it | Additional water added to the finished brew | Treating concentrate volume as the entire drink |
| Rinsing filters or preheating equipment, if used | Fresh water drawn for these steps | Leaving discarded preparation water out of the budget |
| Cleaning and rinsing the kit | Water used to finish the actual cleaning routine | Assuming an emptied coffee puck means the press needs no cleaning |
| Other draws during the routine | Handwashing or additional needs not already recorded | Counting the same washwater again in the general kitchen budget |
Add these entries for the morning’s coffee routine. Keep the rest of the trip’s drinking and cooking needs in the wider water plan, and allow for the availability of a confirmed refill source. Do not take an unexplained total from another person’s kit as your own minimum.
Record both the freshwater total and the finished coffee amount. They answer different questions: how much water you must supply, and whether everyone received the drink they planned.
Pack one complete coffee kit
Group small coffee parts together, but store food, fuel and cleaning products according to their own requirements. The coffee pouch should be reachable before the rest of the kitchen is unpacked. Leave any cooling stove or hot vessel out of the storage box until its instructions permit packing.
| Part of the kit | Include when needed | Check before departure |
|---|---|---|
| Coffee | Labeled portions for the planned servings, plus your chosen backup | Grind, dose and regular/decaf labels match the intended method |
| Brewer and parts | Dripper or press, cap, seals and filter assembly | All required pieces are present and undamaged |
| Filters | Correct size and type in dry storage | Enough for every planned run, allowing for a damaged or dropped filter |
| Measuring and stirring | The spoon, scale or pre-portioned dose your recipe uses | You can repeat the recipe with what is packed |
| Hot water equipment | Compatible stove, approved fuel and suitable heating vessel | Operating conditions, cookware limits and destination rules checked |
| Receiving vessels | Sturdy compatible mugs or server, with suitable lids if wanted | Fit, usable capacity and stability checked together with the brewer |
| Milk or other additions | Portions suited to the trip | Label instructions, opening date where relevant and required cold storage |
| Waste and cleaning | Contained grounds/filter waste, appropriate cleaning supplies and wastewater collection where required | Disposal destination identified; clean parts have a drying place |
Add each item’s owner and packed location to the car camping checklist. For milk, creamer and food-scented supplies, use the product label and your camping food storage plan. A coffee bag should not be left outside overnight simply because it is not part of dinner.
Remove the grounds before washing
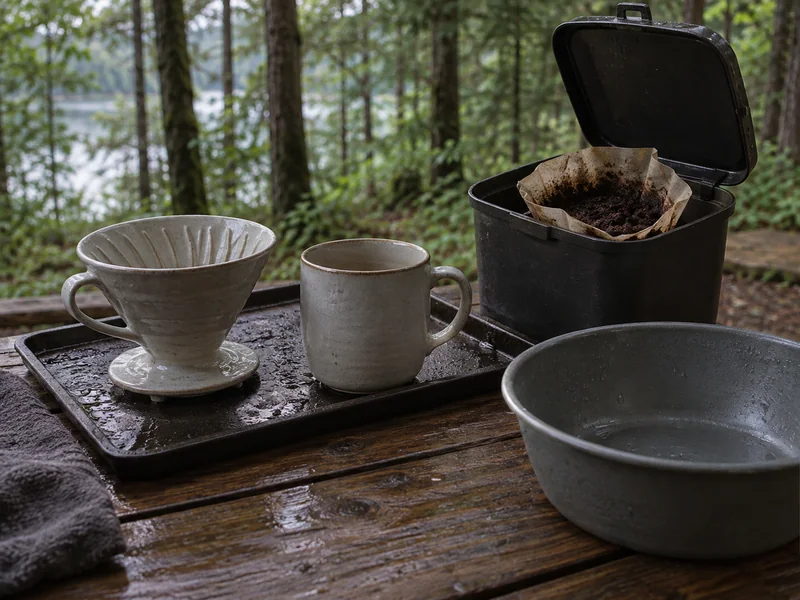
Let equipment reach a safe handling temperature as directed. Collect paper filters and grounds in the permitted waste stream. With a French press, remove loose grounds before cleaning the vessel and filter parts. Keep those solids out of the washwater disposal system.
Leave No Trace calls for packing out kitchen waste, avoiding washing in natural waterways and asking the campground host about wastewater disposal at developed sites. Grounds and paper filters are not an invitation to bury waste or leave it in a fire ring.
Follow the cleaning instructions for the exact brewer, including any removable seals or filter components. Emptying it or briefly rinsing it does not establish that the complete cleaning process is finished. The camp dishwashing guide covers washing, rinsing, drying and local disposal rules without assuming every campground has the same facilities.
Rehearse once with the kit you will carry
Use the same serving target when comparing two methods. Start with equipment packed and finish with the kit cleaned and ready for appropriate drying or storage. If you record time, use those same start and finish points, and note interruptions. A brew time copied from one manufacturer is not comparable to another method’s complete setup and cleanup time.
Copy or print this blank sheet. Use the same units in both columns; leave an unknown marked unknown until you have checked it.
| Detail | Setup A | Setup B, if comparing |
|---|---|---|
| Exact model, recipe source and rehearsal date | ________ | ________ |
| People, servings each and desired drink volume | ________ | ________ |
| Coffee dose and grind or instant product | ________ | ________ |
| Brewing water and any separate dilution | ________ | ________ |
| Finished coffee collected and number of runs | ________ | ________ |
| Other freshwater draws and complete total | ________ | ________ |
| Complete packed dimensions, including required accessories | ________ | ________ |
| Work surface, cup fit and hot-water sequence | ________ | ________ |
| Grounds handling, washing and drying observations | ________ | ________ |
| Full routine time, start/end points and interruptions, if timed | ________ | ________ |
| Personal taste preference and one change for next time | ________ | ________ |
Measure the actual packed arrangement, including whatever protects it in transit. External dimensions of a brewer alone do not describe the space occupied by its mugs, filters and carrying case. A taste note belongs to the person who drank the coffee; it does not establish a blind-test winner or a method that everyone will prefer.
Fix the part that slows down your morning
| What happened | What to change before the next trip |
|---|---|
| The second person waited through another complete brew | Review usable output and repeat runs; consider a suitable shared batch or server |
| Breakfast needed the same pot while coffee was still being made | Set a serving order or assess another compatible vessel; check the complete stove setup |
| The dripper or press felt unstable on the mug | Stop using that combination; check fit on a stable surface with a compatible receiving vessel |
| The kit fitted the box but its filters were buried | Move the morning’s coffee parts to an accessible dry pouch |
| There was coffee for everyone but little water left for cleaning | Repeat the water log through the end of cleanup and revise the trip supply plan |
| Wet grounds were the last job before departure | Prepare the waste container earlier or choose a method with less grounds handling |
Pack the revised list with the kit. On the next morning, the useful result is simple: the right amount of coffee, a safe place to make it and a cleanup routine you can finish before leaving.
Sources & further reading
Use these original sources for the full context and the latest guidance.
- AeroPress: Original coffee press (opens in a new tab)
- AeroPress: How to use (opens in a new tab)
- AeroPress: Frequently asked questions (opens in a new tab)
- Hario USA: V60 Ceramic Coffee Dripper 02 (opens in a new tab)
- Hario USA: James Hoffmann V60 technique (opens in a new tab)
- Stanley: Classic Stay Hot French Press, 48 oz (opens in a new tab)
- Stanley: Seven steps to French press coffee (opens in a new tab)
- NESCAFÉ US: Frequently asked questions (opens in a new tab)
- Leave No Trace: Dispose of waste properly (opens in a new tab)
- CDC: Carbon monoxide poisoning basics (opens in a new tab)
- National Park Service: Recreate responsibly (opens in a new tab)
Prepared with AI assistance. Read our editorial approach.
This is a researched planning guide, not a report of a hands-on product test.
Last updated .