Dutch Oven Camping Recipes by Pot Size and Heat Source
Compare Dutch oven camping recipes by pot size and heat source. Plan preparation, doneness checks, serving, and cleanup around your actual equipment.
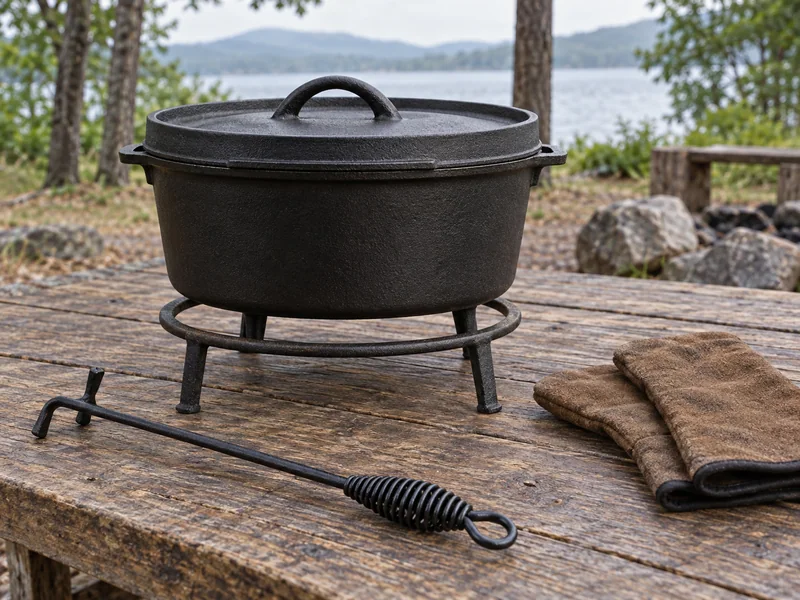
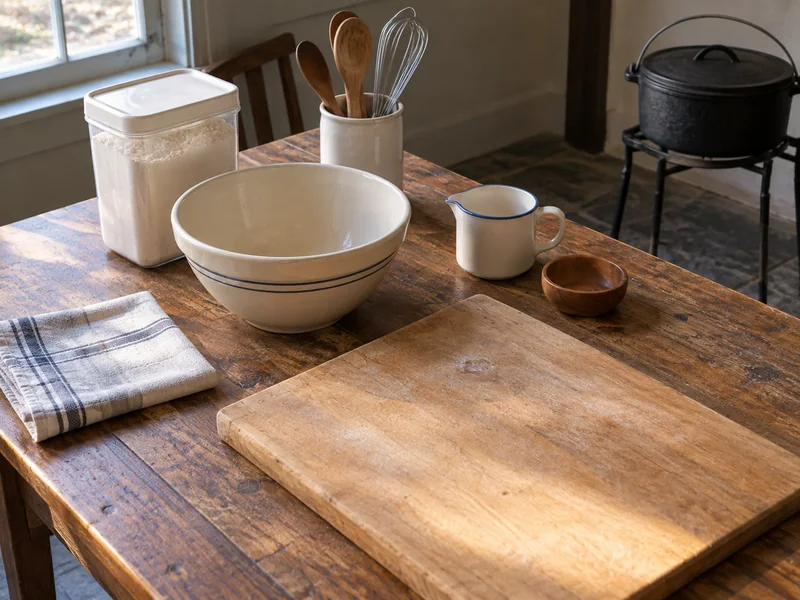
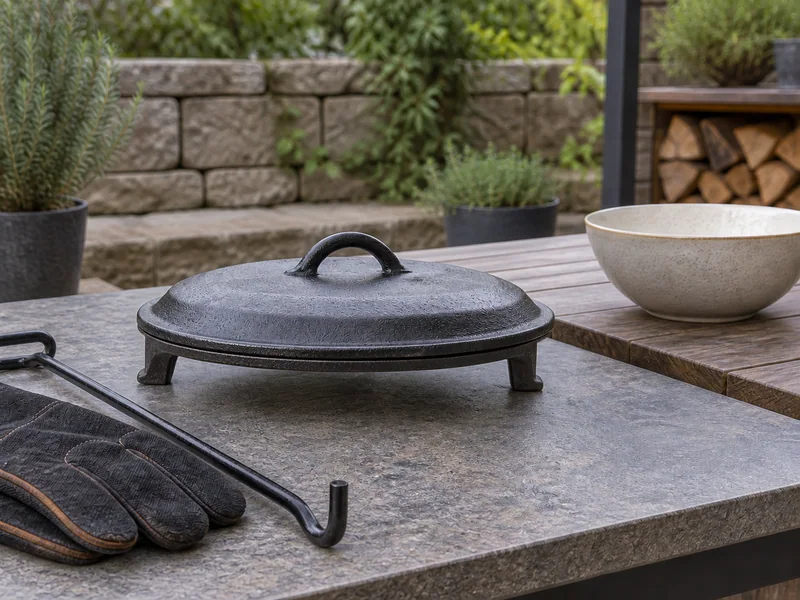
AI-generated illustration: generic camp-oven equipment, not an exact model or completed cooking trial.
Choose a Dutch oven camping recipe by the exact pot and heat method it uses. A camp oven with legs, a smooth-bottom Dutch oven and a convertible Cook-It-All are different pieces of equipment. Compare source recipes, account for preparation before the pot is filled, and plan how the hot lid and finished meal will be handled.
A Dutch oven recipe begins with a pot, but the important detail is which pot. A recipe developed for a shallow camp oven can behave differently in a deeper vessel. A lid designed to hold charcoal does a job that an ordinary kitchen lid may not be designed to do.
Start with the equipment you own, then choose a complete recipe that names a compatible vessel and heat source. This guide helps compare those details using manufacturer examples. It does not reproduce the recipes or claim that we tested their times, yields or charcoal arrangements.
The reward for doing that comparison is a clearer packing list. You can see whether dinner needs a mixing bowl, a second cooking step, a lid lifter or a place to set down hot iron before you arrive at camp.
Identify the oven before choosing the food
Write down the model, diameter, capacity and intended uses. Keep those details together. Diameter alone does not identify the depth or shape of the cooking space, and total volume does not establish the amount of every food the pot can cook.
As one concrete example, Lodge’s L12CO3 camp oven is identified as a 12-inch, 6-quart model with legs and a bail handle. Use those specifications to identify it, not as a universal serving count. Other sizes and configurations on the same product page have different measurements.
| Equipment detail | Why it matters to a recipe | Your record |
|---|---|---|
| Model and capacity | Confirms the vessel the instructions describe | ________ |
| Diameter and depth | Affect food layout and the distance heat must travel | ________ |
| Legs or smooth bottom | Change how the pot is supported over the heat source | ________ |
| Lid design and handle | Determine suitable heating and lifting methods | ________ |
| Manufacturer’s permitted uses | Establish whether the intended setup is allowed | ________ |
| Complete recipe using compatible equipment | Connects the pot to an actual method | ________ |
If your pot is enameled or has different handles and knobs, consult its own instructions. Do not transfer a camp oven’s permission for coals or flame to another vessel because both are called Dutch ovens.
Four source recipes that reveal different equipment needs
The following are manufacturer recipes to read at their original pages. Their value here is the way they expose different preparation and heat requirements. We have not verified their results through cooking.
| Manufacturer recipe | Equipment named at the source | Planning lesson |
|---|---|---|
| Lodge Mountain Man Breakfast | A 12-inch camp Dutch oven; page links a 6-quart model | Ingredients are cooked and layered in stages, with heat above and below for the final stage |
| Lodge Campfire Buttermilk Biscuits | Camp Dutch oven method | Dough preparation needs a clean working area in addition to the oven |
| Lodge Lazy Peach Cobbler | A camp Dutch oven | Dessert occupies the vessel and heat source after or alongside dinner |
| Lodge Mixed Berry Cobbler | A 14-inch Cook-It-All | A recipe found among outdoor-cooking ideas may use a different cookware system |
An egg-and-potato breakfast
Mountain Man Breakfast includes cooking and removing sausage before other ingredients are layered. It therefore needs somewhere appropriate for that cooked food to go while the pot is used for the next stage. The full recipe, not just the one-pot label, determines the utensils and dishes.
Eggs and sausage also require proper cold storage and doneness checks. Apply current food-safety temperatures to the food being cooked; the visible browning of the top is not enough to check the middle. The breakfast planning guide helps decide whether this is the right sort of meal for an early departure.
Biscuits with a preparation surface
Campfire Buttermilk Biscuits is worth reading before promising fresh bread at camp. Check the mixing, shaping and equipment requirements as carefully as the baking stage. A clean surface for dough competes with the space used for other food preparation.
If biscuits are a side, schedule the main dish around the same oven and fuel supply. You may decide that ready-to-serve bread fits a busy evening better. That is a meal-planning choice rather than a failure to use the Dutch oven’s capabilities.
A dessert that needs its own slot
Lazy Peach Cobbler gives a camp-oven dessert method. Review the recipe’s exact pot and ingredients, then ask what happens to the dinner pot before dessert starts. A vessel still holding dinner is not available for another dish.
Count cleanup, drying if needed, resetting the cooking area and preparing the dessert. Do not add those jobs only after people finish eating. If the camp oven is your only large pot, a dessert that uses different equipment can simplify the evening.
A Cook-It-All example to keep separate
Mixed Berry Cobbler names Lodge’s 14-inch Cook-It-All and uses its component pieces. That is a useful reminder to read the equipment line on every recipe. Its method is not automatically a tested conversion for a 6-quart camp oven.
For another dish where the lid and base matter, see the campfire nachos planning guide. It separates topping preparation from the final heating and serving decisions.
Distinguish bottom heat from oven-style heating
Heating a soup from below and baking dough with heat around the vessel are different tasks. A stove-compatible pot can sometimes perform the first job while lacking an established method for the second. Follow the specific cookware and recipe instructions.
Lodge’s charcoal guidance distinguishes baking, roasting, and bottom-heated boiling or stewing. It also explains that weather and location affect cooking. Its charts are equipment guidance to consult, not a temperature measurement of your campsite setup.
Do not invent a universal charcoal count from the pot diameter. Record the source arrangement for the exact method, then observe the actual cook according to the recipe. Wind, changes in fuel and a different load of food are reasons to reassess the setup, not to announce that a chart guarantees a fixed temperature.
| Recipe task | Heat question | What to plan beside the pot |
|---|---|---|
| Simmering or reheating | How is bottom heat controlled and the food stirred? | Suitable stirring tool and thermometer when required |
| Baking bread or a casserole | How does the recipe provide heat above and below? | Appropriate lid handling and a safe lid-resting place |
| Searing before a later stage | Where does the first cooked component wait? | Clean heat-safe dish and clear order of work |
| Making dessert after dinner | When is the vessel actually available? | Cleanup, fresh ingredients and the next fuel stage |
Check fire restrictions before selecting a charcoal-dependent meal. NPS guidance explains that allowed fire types vary and current conditions can change the rules. Have another meal whose preparation is allowed if the planned method cannot be used.
Plan lifting and serving while the cookware is cold
Before lighting anything, identify where the hot lid will rest and how you will reach the food. Use the manufacturer’s recommended handling equipment and suitable heat protection. Keep the route between the pot and serving area free of people waiting with plates.
An empty oven may be manageable in one position while a full hot oven is awkward to move. Resolve that with a safe equipment setup, not by asking someone to improvise a grip. A stable place to serve can be more useful than moving the full vessel onto the dining table.
Choose serving utensils that can reach the food comfortably without putting hands near the rim. A shallow layered meal and a deep soup may need different utensils. Make the clean serving tools available before the food is ready.
The camp kitchen setup guide helps place preparation, heat, serving and washing areas. For groups, the large-group meal schedule adds assignments and service rounds.
Check the food instead of trusting the top crust
A browned surface is one observation, not proof that a casserole’s center has reached a safe temperature. FoodSafety.gov’s chart specifies 165°F for casseroles and reheated leftovers. Use a food thermometer and the appropriate requirement for the actual ingredients.
Keep refrigerated ingredients properly cold until they are needed. When a recipe has several stages, record which ingredients remain in cold storage and which move to cooking or serving. The camping food storage guide covers that routine and the leftover decision.
If a planned batch is too large to cook or serve safely with your equipment, change the amount or the menu. Adding more food to the same vessel does not provide a verified larger recipe.
Keep a recipe record you can use again
A source link alone can be awkward in a campsite without service. Save the recipe for personal use before departure and keep your equipment details and shopping plan beside it. Record changes rather than silently altering the original instructions.
| Recipe record | Before the trip | After an actual cook |
|---|---|---|
| Source and recipe version | Save the complete instructions | Note which version was used |
| Pot and heat method | Match the named equipment | Record the actual setup |
| Ingredients and quantities | Copy your chosen recipe’s shopping needs | Record substitutions and amounts actually used |
| Preparation and serving jobs | Assign the surface, tools and people | Note the steps that caused delays |
| Required food check | Identify the appropriate method | Record the actual result |
| Future adjustment | Leave unresolved questions visible | Describe one change to investigate next time |
Clean and store the cookware according to its maker’s instructions. Lodge describes hand washing, drying and oiling for the seasoned camp oven cited above. The camp dishwashing guide helps plan water and wastewater handling around the cookware’s care needs.
If the method creates more equipment or fuel work than the trip allows, compare foil-packet meals or another camp dinner format. Choose the method you can carry out from preparation through cleanup, then build experience with that actual setup.
Sources & further reading
Use these original sources for the full context and the latest guidance.
- Lodge: 12 Inch / 6 Quart Camp Dutch Oven (opens in a new tab)
- Lodge: How many coals to use with a camp Dutch oven (opens in a new tab)
- Lodge: Mountain Man Breakfast (opens in a new tab)
- Lodge: Campfire Buttermilk Biscuits (opens in a new tab)
- Lodge: Lazy Peach Cobbler (opens in a new tab)
- Lodge: Mixed Berry Cobbler (opens in a new tab)
- FoodSafety.gov: Safe minimum internal temperatures (opens in a new tab)
- National Park Service: Campfires (opens in a new tab)
Prepared with AI assistance. Read our editorial approach.
This is a researched planning guide, not a report of a hands-on product test.
Last updated .